Bee Kissed Seeds

Bee Kissed SeedsBee Kissed SeedsBee Kissed Seeds
  • Sign In
  • Create Account

  • Orders
  • My Account
  • Signed in as:

  • filler@godaddy.com


  • Orders
  • My Account
  • Sign out

  • Home
  • Shop
  • Biodiversity
  • Germination
  • Canadian Hardiness Zones
  • Sheet Mulching
  • About Us
  • More
    • Home
    • Shop
    • Biodiversity
    • Germination
    • Canadian Hardiness Zones
    • Sheet Mulching
    • About Us

Bee Kissed Seeds

Bee Kissed SeedsBee Kissed SeedsBee Kissed Seeds

Signed in as:

filler@godaddy.com

  • Home
  • Shop
  • Biodiversity
  • Germination
  • Canadian Hardiness Zones
  • Sheet Mulching
  • About Us

Account


  • Orders
  • My Account
  • Sign out


  • Sign In
  • Orders
  • My Account
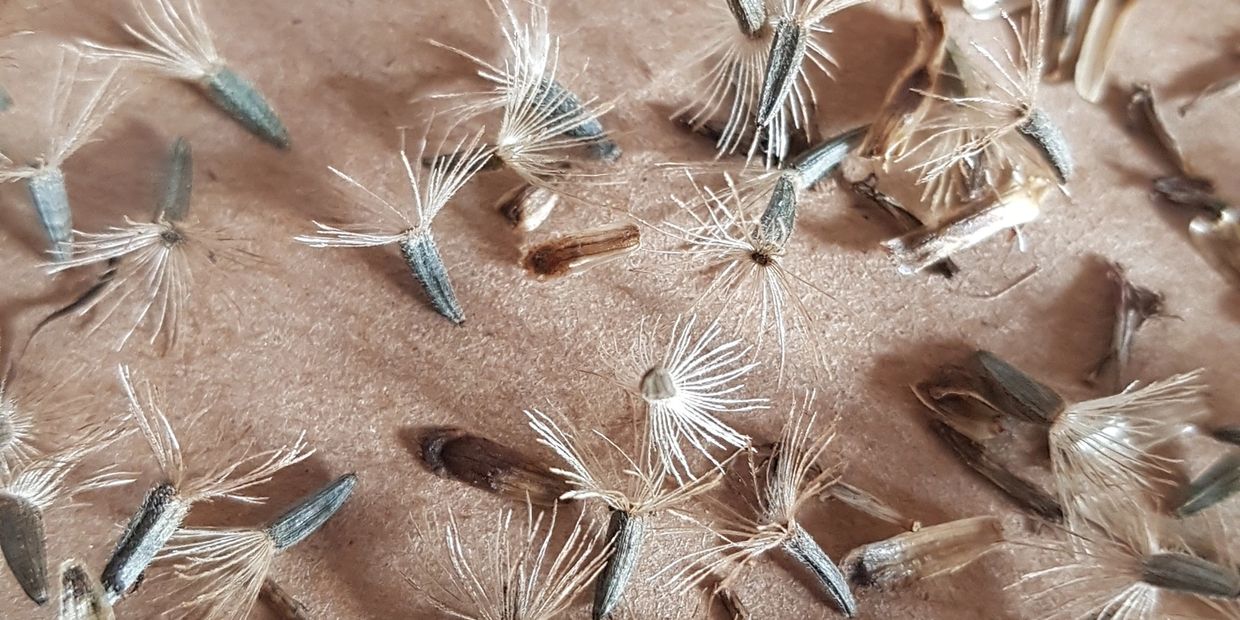
Dense Blazing Star, Liatris spicata seeds

Germination

"Strati-what?!" Tricks for germinating Ontario native plant seeds!

First of all, congratulations on deciding to try your hand at growing some native plants from seed! We truly hope you will grow a garden that makes you happy, brings you stress-relief and invites many vital creatures to make your yard their ‘home’. We truly wish you success, especially as you get started! Seeing your first seeds actually germinate and grow is one of the best experiences as a gardener! Here are a few things we have learned and want to share with you as you get started…    


Why do we have to stratify native plant seeds?   


The seeds of many of Eastern North America’s native plants have developed dormancy mechanisms. This ensures that they will not germinate and begin to grow late in the summer or in the autumn. If they germinate at this time, they will not have enough time to develop a strong enough root system to survive the harsh winter ahead. This is unlike most annual plants which will start to grow as soon as their seeds are in the soil. Annuals grow fast, produce their fruit and seeds and then die when frost and winter return. Native perennials, on the other hand, need to have strong root systems in order to survive winter and re-emerge year after year.     


What is stratification?    


Almost all native plant and tree seeds need to experience a cold, moist period of time (winter) before they will germinate. This is the stratification period! That's it! It does get a little more complicated with certain species that need both warm and cold stratification periods. But for the most part, if you can create a "pretend" winter for your seeds, they will germinate! 


What is scarification?


Some species may also have very thick seed coats which need to be ‘scarified*,’ or scratched, in addition to being cold, moist stratified. In nature, this can happen when seeds are eaten by animals and then pass through their digestive systems. Stomach acids can help to weaken the seed coat - some seeds, like those of the Eastern Redbud, Cercis canadensis, can be soaked in acidic substances or have boiling water poured over them in order to compromise the seed coat before cold stratification begins. For any species requiring scarification, you will need to scarify the seed coat first, and then begin the period of cold, moist stratification.


Mimicking Nature  


In nature, these perfect processes may or may not happen and seeds can remain dormant or buried too far underground for years before the perfect conditions occur - if they ever do.   


By collecting seed and artificially scarifying and stratifying we are usually able to create the conditions for much higher germination rates than would occur in the wild. Stratification takes time and a little planning ahead. In Canada, planting seeds is considered to be mainly a springtime activity. Unfortunately, spring is not the best time to start cold, moist stratification processes for native seeds! Many species need at least 30 days of stratification - so by mid-April in Ontario, you want your seeds to be stratified and ready for planting!      


*If your seeds require scarification, we will include a small piece of sandpaper in your seed package. Follow instructions in the Bee Kissed Seeds store and on your seed package for hot water scarification if it is recommended. And remember, we are only an email away if you have any questions or are looking for any further advice!

Still have questions?

We promise - you really cannot hurt your seeds. 


And even your seedlings will be tougher than they look!


We also believe gardening is best learned through shared experiences and many experiments. So, if you are still in need of any support at all (or have a great idea to share), please send us a message! 


We are always happy to share seed stories! 

Help!

Some Seedlings

Stratify Native Plant Seeds: Method 1

Cold, Moist Stratification in Your Refrigerator

  • The recommended starting time to stratify native plant seeds in Ontario is generally around mid-February (for the majority of species). You can start seeds in the fridge later than this, but know that they will likely not be large enough for planting into the garden until the fall if they have a later start. Most species stratified over the winter months should be garden sized by early summer.
  • In Ontario, most seeds can go outside in pots around mid-April to germinate naturally outdoors. So, if you are aiming for an outdoor start in mid-April, count backward to determine when to start stratifying your seeds (i.e. White Turtlehead needs 120 days of stratification, so you would want to start them in the fridge around mid-December)  


What to do: 

  • Get yourself a bag of soilless seed starting mix. This shouldn’t contain any compost. Usually, seed starting mixes will be a blend of any of the following: peat, coco coir, bark, vermiculite, perlite. Anything containing compost may increase your chances of having mold grow in your stratifying seeds. Outside, this isn’t a problem due to the presence of predatory organisms. But indoors, it can ruin a batch of stratifying seeds!
  • Label zip-top plastic baggies (or, you could also use reusable containers or even small glass jars) with the date and the species it will hold.
  • Add about half a cup of seed starting mix and spray it lightly with water. 
  • Mix in your seeds! (I always sprinkle in a little cinnamon too! It seems to help with controlling any rogue mold or fungus that you might not want growing in your mixture!)
  • Put the baggies/containers into the fridge and check on them every few days. Check for adequate moisture levels and any signs of mold.
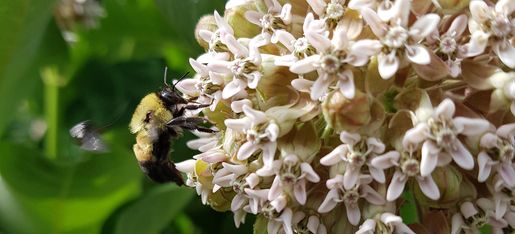
  • If you notice germination is starting, plant your seeds right away! This happens with milkweed seeds quite regularly.
  • Plant your seeds into trays (with drainage holes) once the stratification period is over. Seedlings grown outside may be slower to start than if you use grow-lights indoors. However, they will usually be stronger and hardier because they were ‘born’ under the sun and with wind and weather already upon them! Anything grown indoors will need a hardening off period (a time during which they gradually acclimate to the sun and outdoor climate) and will be more susceptible to damping off (sudden seedling death) during their time indoors.
  • You may need to separate or thin seedlings as they begin to grow. It will be difficult to space out your seeds after stratification because they will be mixed in with the seed starting mix. For larger seeds, it will be easier to plant them individually and space them out ideally. But this is tricky when planting seeds that are smaller, as they disappear into the starter mix! Don’t worry - separating the seedlings takes time and patience, but it isn’t difficult!

Setting up for cold moist stratificatiom of seeds

Stratify Native Plant Seeds: Method 2

Autumn-Sowing into Pots, Trays or Other Containers

This is our favourite germination method! 


What you will need to stratify native plant seeds outside, over the winter:

  • old plant pots, plant trays, lasagna trays, plastic tubs or any other reusable, re-purposed container that will last through the winter
  • potting soil
  • a labelling system that is winter-proof!
  • your seeds
  • a late-fall or early-winter day that isn't too cold for your hands to be planting seeds!


What to do:

  • Gather up your containers and be sure that they have drainage holes poked or drilled into their bottoms!
  • Add potting soil (not seed starting mix) to the container and plant or sprinkle and press-in your seeds.
  • Mist well with a spray bottle to settle the soil and the seeds into place.
  • Label in some way that will last through the winter so you know what species is growing in the container!
  • Leave the containers outside all winter. They will be covered with snow, they will freeze and thaw and be ready to grow when the spring comes! 
  • If you have many squirrels around, it is a good idea to cover your containers with some sort of screen or other barricade to discourage them from ‘planting walnuts’ in your seed nurseries! In the photo, we used a layer of old trellises. Window screens weighed down with rocks also work. Get creative and use whatever you have laying around!
  • Transplant to individual pots or directly to the garden when seedlings are bigger than 5 cm tall.

Birch seeds set up outdoors for winter stratification

Stratify Native Plant Seeds: Method 3

Planting Directly into a Prepared Garden Bed in Autumn

This may be the only method possible when you need to stratify native plant seeds for larger areas. However, it may also not yield the greatest germination results. Or, it may take several years to really see growth starting. 


At Bee Kissed Seeds, we don't have a lot of hands-on experience with this method. We generally work in gardens on city lots which are manageable to plant by hand. We really prefer to baby each little seedling one at a time. But, we can certainly appreciate that this is not always possible!


What to do:


  • Map out the area you will be using for the new garden. Decide on the shape you would like it to take on.
  • Remove larger plants, turf and weeds, or sheet mulch an area for at least one year before seeding it (see the “Sheet Mulching” section of our website for more on that method). 
  • Ensure bare soil is as level as possible so that seeds don't pool into concentrated areas.
  • Sow your seeds and gently rake them in or press/roll them in. Mixing your seeds with sand or vermiculite can be a helpful way of dispersing them evenly during spreading.
  • Let nature do the rest!
  • Note: It will still be important to weed this area until your plants establish. This can be tricky to do without stepping on baby plants. Also, unless you know what your desired species look like in seedling form versus what your garden’s weed species look like, you may run into minor complications with this method.
  • If you are using this method for planting seeds in a big area, then you will probably have purchased larger amounts of seed and should research how to use strategic mowing as your weeding control method. 
  • It will take at least three years to establish a fledgling meadow garden using this method.
  • We are always inspired by The Meadoway Project - check out their website for more advice about the planning, stages, timing and succession involved in planting larger meadow gardens.

Woodland edge, Joe Pye Weed, Eutrochium maculatum
#

Shop Milkweed Species

#

Shop Plants for Caterpillars

#

Shop Drought Tolerant Species


Copyright © 2025 Bee Kissed Seeds - All Rights Reserved.


Powered by

Monarch caterpillar in Butterfly Milkweed, Asclepias yuberosa

Special Notes

Almost all native species require cold, moist stratification (winter) before they will germinate. See notes on individual species for advice on germination methods.


Thank you for planting for nature :)

This website uses cookies.

We use cookies to analyze website traffic and optimize your website experience. By accepting our use of cookies, your data will be aggregated with all other user data.

DeclineAccept